Bro! Ever jumped into icy water and felt that shock to your system? Not fun, right? WRONG. Cold plunges are actually becoming the hottest trend in wellness right now.
You’ve seen those TikTok videos – people screaming as they dip into frigid water, then smiling like they’ve unlocked some secret life hack. Guess what? They have!
Cold plunges can help with recovery, boost your mood, and make you feel alive in ways scrolling can’t. But who has $$$$ for fancy ice baths?
That’s where DIY cold plunges come in. You don’t need fancy equipment or a personal trainer to get these benefits.
Ready to freeze for a reason? Let’s break down how to make your own cold plunge at home without breaking the bank. Your body (and TikTok followers) will thank you!
What is a Cold Plunge?
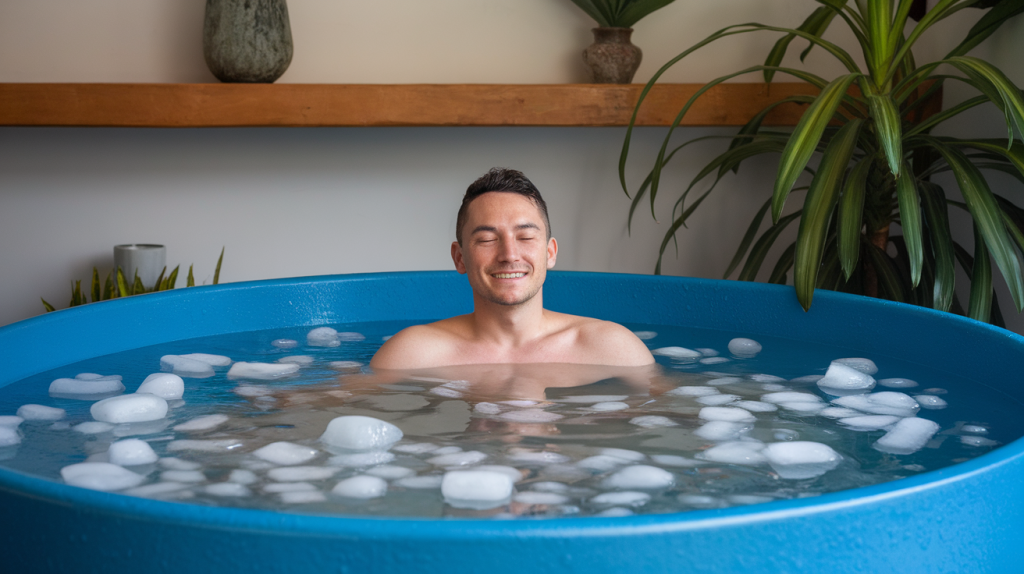
A cold plunge is simply taking a quick dip in very cold water. Think of it as the opposite of a hot tub, but with way more health perks!
The water temp is usually between 40-55°F (4-13°C). Most people stay in for just 1-3 minutes when starting out.
Cold plunges have been around forever. From Finnish ice hole swimming to Japanese cold water rituals, people have been chilling out on purpose for centuries.
Why do folks willingly freeze themselves? The body reacts to cold water by narrowing blood vessels, which may help reduce swelling. When you get out, blood rushes back, possibly bringing fresh oxygen and nutrients to your muscles.
No, it’s not comfy at first. Your body might scream “WHAT ARE YOU DOING?!” But that’s part of the point – teaching yourself to stay calm when things get tough.
The best part? You can create one at home without fancy gear!
What You Need for DIY Cold Plunge?
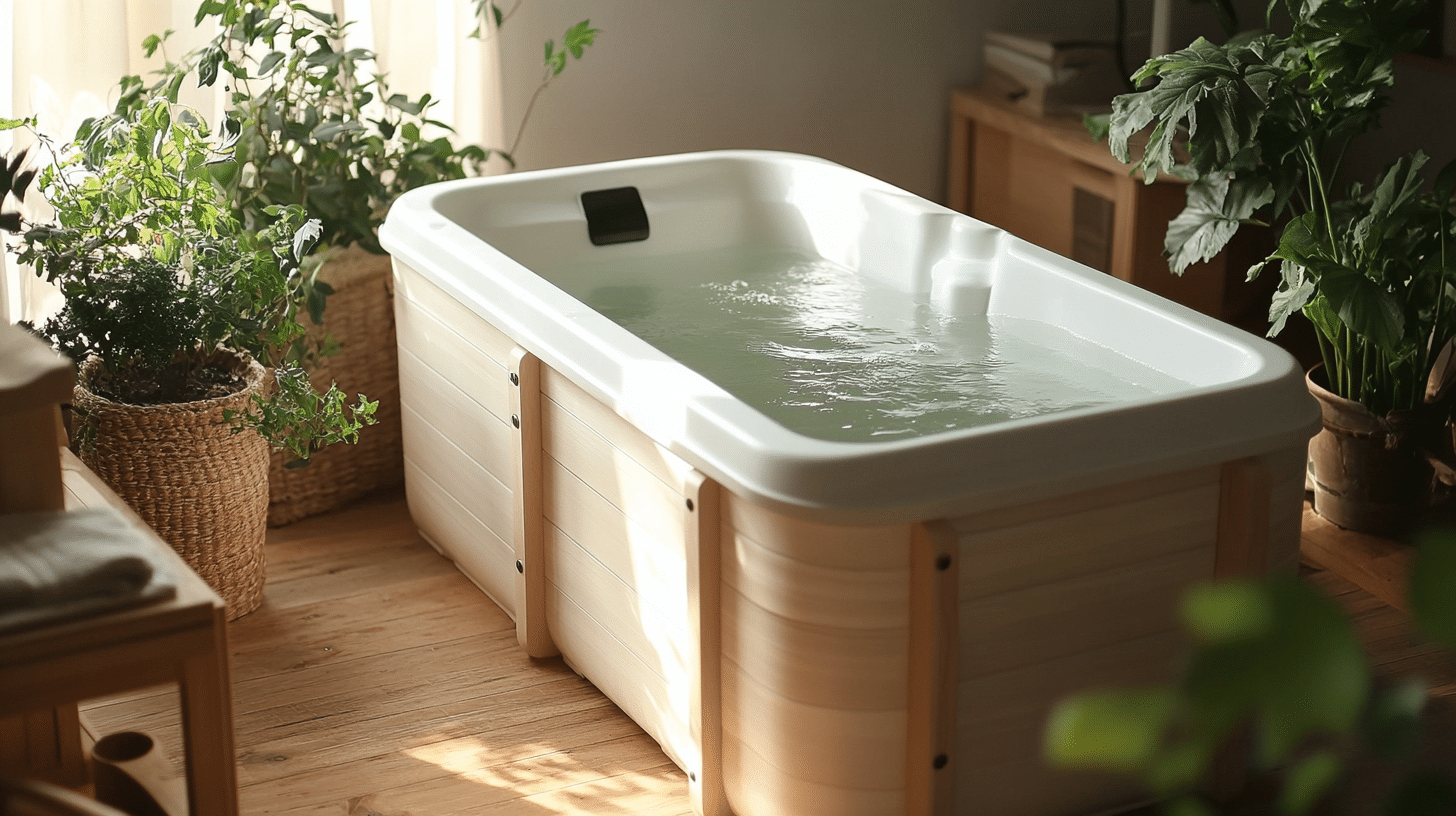
Before you jump into the icy world of cold plunges, let’s talk about what you’ll need. Creating your own cold plunge setup can be super simple or slightly more involved – it all depends on your budget and how fancy you want to get.
The basic idea is pretty straightforward: you need something to hold water, a way to make it cold, and maybe a few extras for comfort. Most items you might already have at home or can find at local stores without spending much money.
| Item | Basic Option | Upgrade Option | Purpose |
|---|---|---|---|
| Container | Large plastic storage bin | Stock tank/cattle trough | Holds the water |
| Cooling Method | Bags of ice | Small portable cooler | Keeps water cold |
| Thermometer | Basic water thermometer | Digital temperature gauge | Monitors water temp |
| Timer | Phone timer | Waterproof digital timer | Tracks immersion time |
| Comfort Items | Old towel for cushioning | Anti-fatigue mat | Makes standing more comfortable |
| Extras | Regular towel | Quick-dry microfiber towel | For drying off after |
| Safety Item | Someone nearby | Waterproof phone case | In case you need help |
The beauty of DIY cold plunges is how flexible they can be. You can start with just a bin and some ice, then add more items as you get used to the practice. The most important thing is having a container big enough for you to sit in with water that reaches at least up to your waist.
If you want to make your cold plunge last longer without adding more ice, you can insulate your container by wrapping it in a blanket or using pool noodles around the edges. This helps keep the cold in, so your ice doesn’t melt as quickly.
How to Build Your Cold Plunge Tub?
Ready to make your very own chill zone? Building a DIY cold plunge tub isn’t rocket science. You can set one up in under an hour with basic items. Here’s how to turn regular household stuff into your personal ice bath station.
Step 1: Choose Your Container
Find a container that fits your body when sitting. Stock tanks from farm supply stores work great, but large storage bins can do the job too. Make sure it’s clean and free from cracks or damage that could leak.
Measure the dimensions to ensure you can sit comfortably with water covering up to your shoulders. For most adults, something around 24 inches deep and at least 30 inches in diameter works well. Plastic is usually better than metal since it holds temperature longer.
Quick Tip: Measure yourself sitting down before buying! You want room to move a bit, but not so big that you waste ice and water.
Step 2: Set Up the Location
Place your container on flat ground in a spot with good drainage. Indoor locations like bathrooms or garages work well. If using it outside, pick a shaded area to keep the water colder longer.
Think about access to water for filling and a drain for emptying. You’ll also want to consider privacy and comfort. Some people put their plunge tub on a deck or patio for easy access, while others prefer the privacy of a bathroom where cleanup is simpler.
Quick Tip: Put a rubber mat underneath to protect floors and provide insulation from the ground.
Step 3: Fill With Water
Fill your container with cold tap water about 2/3 full. Leave room for ice and your body. Remember that water will splash out when you get in, so don’t fill it too high.
The amount of water needed depends on your container size, but start with enough to cover your legs and waist when sitting. Most home cold plunges need about 40-60 gallons of water, which takes about 15-20 minutes to fill from a standard garden hose.
Quick Tip: Use a garden hose with a splitter attachment so you can easily refill or drain your tub.
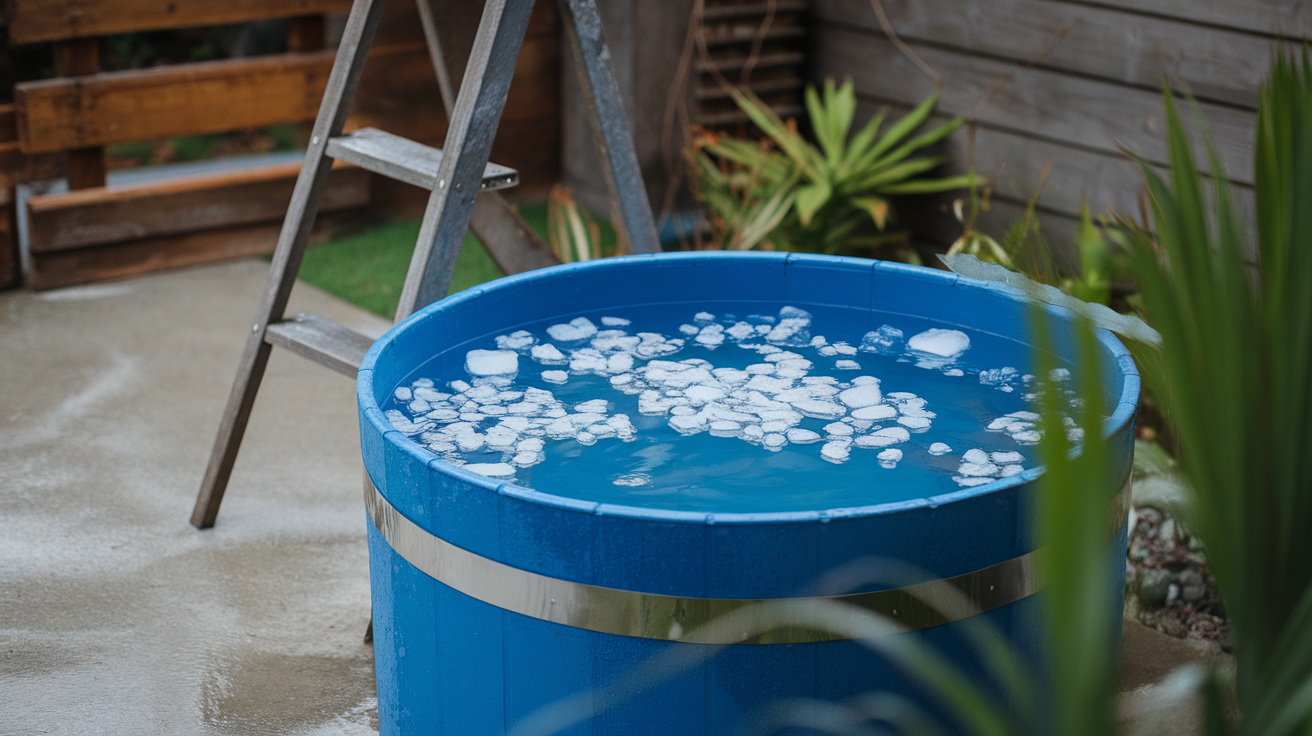
Step 4: Add Ice
Add bags of ice until you reach your target temperature (usually 40-55°F). For a medium-sized container, 1-2 bags of ice from the grocery store should work for starters.
Stir the water as you add ice to distribute the cold evenly throughout the tub. This prevents “hot spots” and “cold spots” that can make your experience less pleasant. Ice will melt faster at first as it cools the water, then slow down once the temperature stabilizes.
Quick Tip: Freeze water in plastic bottles instead of using ice bags. They’re reusable and don’t dilute your water as they melt.
Step 5: Check the Temperature
Use a thermometer to check the water temperature. Wait until it reaches your desired coldness before getting in. First-timers should start around 55°F and work down over time.
Monitor the temperature during your plunge as well, especially if you plan to stay in for more than a couple minutes. Temperature will slowly rise as the ice melts and your body heat transfers to the water, so you might need to add more ice for longer sessions.
Quick Tip: Write down the temperature and time for each session so you can track your progress and tolerance as you get used to colder water.
How to Safely Enjoy Your Cold Plunge?
Safety comes first when taking a cold plunge. Your body might not love the sudden cold at first, but with the right approach, you can make it a good experience. Here are some key tips to help you plunge safely and get the most from your icy dip.
1. Start Slowly and Build Up
Begin with just 30-60 seconds in the cold water. Your body needs time to adapt to this new stress. Each week, try adding 15-30 seconds to your time until you reach 2-3 minutes.
Many people make the mistake of staying too long on their first try. This can be uncomfortable and might turn you off from trying again. Remember this is not a contest – even short dips offer benefits. Listen to your body and get out if you feel too cold or start shivering heavily.
2. Control Your Breathing
When you first get in cold water, you’ll likely gasp or breathe fast. This is normal but can be managed. Take slow, deep breaths through your nose and out through your mouth. Count to four as you inhale and six as you exhale.
Focused breathing helps calm your nervous system during the cold shock response. It sends signals to your brain that you’re safe, turning down the panic feeling. Many cold plunge fans say the breathing practice is as helpful as the cold itself.
3. Never Plunge Alone
Always have someone nearby when you take a cold plunge, especially as a beginner. This person doesn’t need to watch you the whole time, but should check on you regularly.
Cold water can cause dizziness or light-headedness in some people. Having a buddy means help is there if you need to get out quickly. They can also time your session for you, letting you focus on your breathing instead of watching the clock.
4. Consistency Beats Duration
It’s better to do short, regular plunges than occasional long ones. Aim for 2-3 times per week to start, with sessions of 1-3 minutes each.
Your body adapts to cold exposure over time through a process that works best with regular practice. Think of it like learning a new language – daily short practice works better than cramming once a month. Most cold plunge fans find a sweet spot of 3-4 sessions weekly.
5. Listen to Your Body’s Feedback
Pay attention to how you feel during and after cold plunges. Some people feel great with daily short dips, while others do better with fewer, longer sessions.
Your energy levels, sleep quality, and muscle recovery can all be clues about your ideal cold plunge schedule. Keep a simple note on your phone after each session rating how you felt on a scale of 1-10. This helps you spot patterns over time.
Conclusion
Making your own cold plunge at home is much easier than you might think. With just a few basic items and some ice, you can create a setup that gives you all the same benefits as those fancy spas.
Start small, be safe, and listen to your body as you build this chilly habit. Focus on your breathing, never plunge alone, and stay consistent with short, regular sessions.
The magic of cold plunges isn’t in fancy gear—it’s in showing up regularly and embracing the temporary discomfort. Your body will thank you with better recovery, improved mood, and a natural energy boost no energy drink can match.
So what are you waiting for? Get your container, add some ice, and take the plunge! Your DIY cold bath awaits—and so does a stronger, more resilient you.